Everything you Need to Know About Shiplap
Part two of our wall treatments series
Everything you Need to Know About Shiplap
Part two of our wall treatments series
Introduction
If you’re trying to ensure any room feels complete, professionally designed, rich and full, and visually interesting, wall treatments are the way to go. Wooden wall treatments, add a valuable depth and dimension to any design. In the first part of this series on wall treatments in Space Reimagined we discussed wainscoting at length. The how, why, and where of a classic wooden wall treatment that will never go out of style. Today we’ll delve further into one particular wall treatment that is also extremely popular today: shiplap. The infamous and ever-trendy paneling treatment that can truly serve any space, style, or taste!
Shiplap on the Rise
Wow, has shiplap been enjoying a moment in the sun over the past several years! It has aptly been described as “Shiplap Mania.” Experts have predicted year after year that shiplap was finally done being “trending,” finally about to go out of style, yet it’s nearly universal appeal endures in spectacular fashion today. To be fair, some uses and aspects of shiplap have seemed to taper in popularity of late as we’ve moved away slightly from the farmhouse look where it initially gained its popularity, but because of its simplicity and versatility, shiplap has adapted to the times. It seems it will be around for a long time to come!
Shiplap is named such for the way the boards overlap one another upon assembly. It also may have been used originally in boat construction, potentially dating as far back as the vikings, hence, ship-lap. More recently, it was a popular method for rain-proofing the exterior of structures such as barns and sheds as the boards joined tightly together formed a great water and weather seal. When shiplap was used historically in interiors, it was used as a layer inside the walls (where we would now use sheetrock) and it was never meant to be seen. Very often it was covered in cloth and then wallpaper or other wall coverings. The modern trend of using shiplap as a decorative element came about when people began uncovering original shiplap in their older homes and showcasing it as an interesting historical and architectural element.
The Anatomy of Shiplap
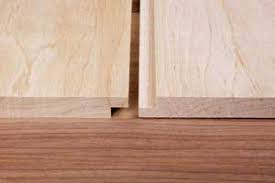
Rabbet vs. Tongue and Groove
Now, back to the anatomy of shiplap. The overlapping aspect is present in just one type of shiplap, but it is a very typical one. Each plank of wood has a notch (rabbet) cut out at the top and bottom which allows for the board to join together with an adjacent board in an overlapping fashion. You can have the adjoining boards come together with no gapping, just a flush joint, or a slim gap. This gap (called a nickel gap, as it’s around the size that a nickel could slip in) is typically 3/8”- 3/16” in size, but can be as large as 1/2″. This method is called the shadow gap profile, and is one of the most popular shiplapping methods today. However, this isn’t the only customization available when it comes to shiplap. When those two boards come together they may both have squared off edges as you’d typically picture, but they may also come together to form a “v” shaped groove or have gently rounded corners for a slightly softer look.
Source: Woodworker’s Journal
Source: East Tennessee Building Supply
Also available in a variety of options is a tongue and groove joint. Here, instead of a large notch cut out, you have a long groove cut into the side of your board along its entire length while the other side has the opposite, a “tongue” remains. These two features latch into each other creating a very strong connection. This will also alter the finished look of your shiplap as a tongue and groove is a much tighter joint.
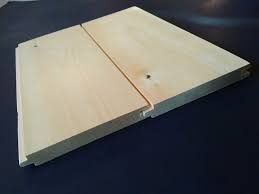
Gapless Shiplap
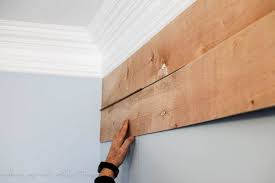
Most shiplap is a relatively easy job to install, but the simplest method of all is called a plank wall. On a plank wall, rather than connecting each individual board via rabbet or tongue and groove joints, the boards are simple, plain boards installed independently and butted up against each other. Again, this may be done with a flush (gapless) connection or with a small gap. This method probably wouldn’t have been used widely historically as it doesn’t offer much function without a tight seal, but in the modern day, the look may be indistinguishable from true shiplap and it is likely simpler for the average person to create and install.
Source: Making Joy and Pretty Things
The amount of variation available when you mix and match the different edges and connections available is only the beginning of the customizations shiplap affords. The size of each plank can be as small as 4” or as large as 8”; with 6” being the most common. A 6” shiplap size will provide a very classic look that will work well with most any style. An 8” is often used in the modern farmhouse style, but can be useful when covering large rooms, as well. You may also consider the orientation of your shiplap–the standard horizontal or the less common vertical? Both are slam-dunk design decisions that will make a room look either wider or taller, respectively. Keep that in mind when planning your space!
Material Options
Shiplap historically was wooden, but today it is often made of MDF. If you opt for wood, you may paint it or consider staining it! Stained shiplap would be an extra cozy feature to add to a home office or den space. MDF is also a great choice as it paints so smoothly and saves you some money. If you opt for painted shiplap, white has been all the rage since shiplap’s initial interior design explosion, and is still a wonderful choice today, especially if you are color-shy but still wanting to create a statement. If you’re less color-shy, however, consider a bold use of color, whether deep or pastel, that covers the shiplap and even the baseboards, doors, and trim. This seamless and all-encompassing look is one that is just getting started in its trendiness, and is very easily changeable. Colored, white, or stained, shiplap will work well with any choice.
Applications
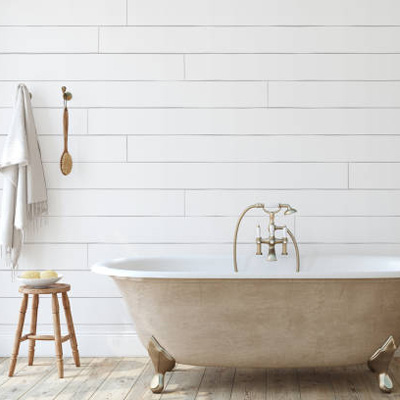
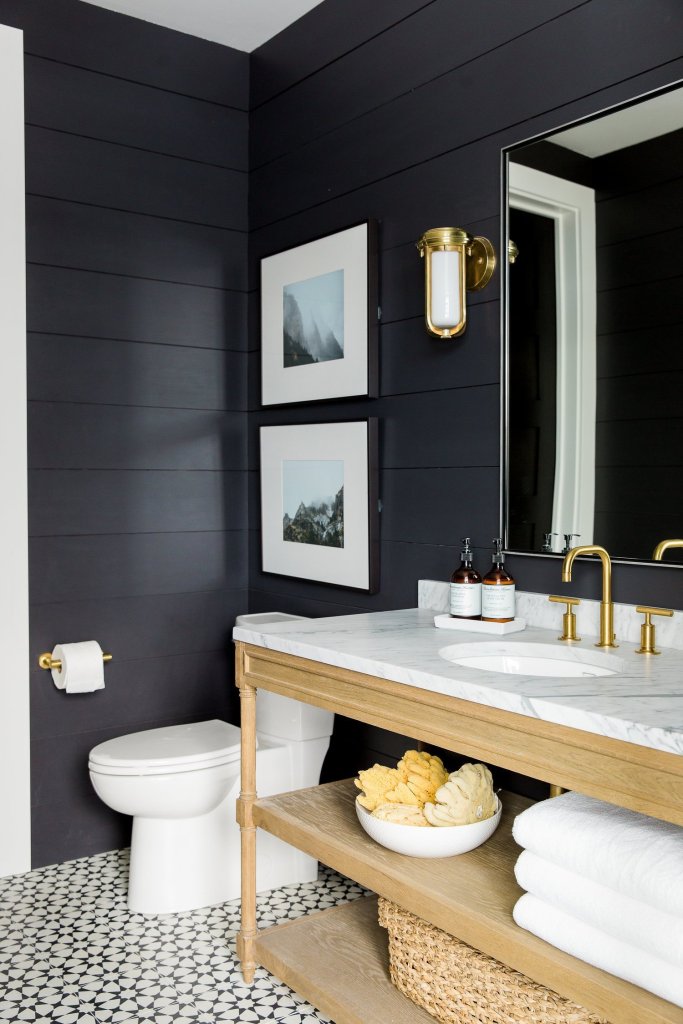
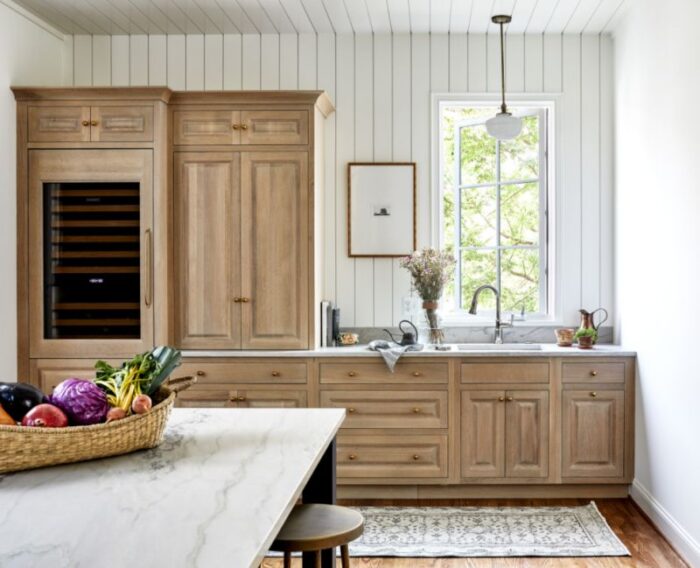
Now for the fun part: where will you use shiplap? Bedrooms, bathrooms, living spaces, kitchens, you name it–shiplap can be applied pretty much anywhere, though mudrooms and laundry rooms do seem to be especially popular locations. It can be used across a single wall to create a focal point, say, just behind the bed in the primary bedroom, or you may want to try it on all four walls, perhaps in your family room, to create a lot of visual interest.
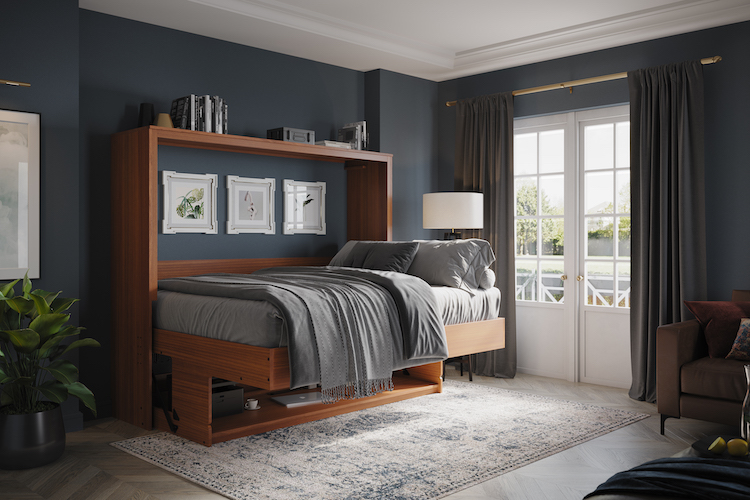
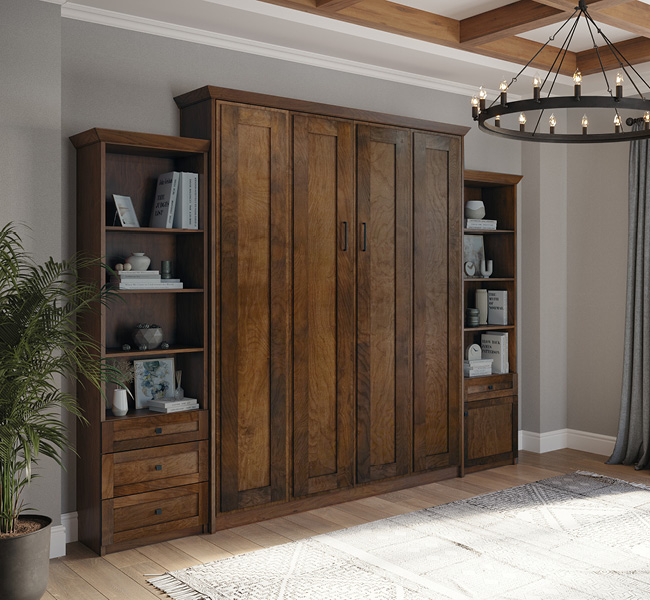
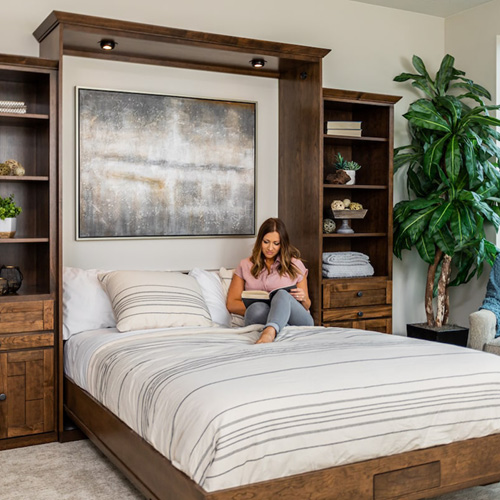
You can also use it in conjunction with other wall treatments like wallpaper or wainscoting, or use it as your wainscoting, maybe oriented vertically and running just to the chair rail. Shiplap is a great way to add texture without too much busyness and will surely round out any design. A wonderful new trend is to use shiplap as your backsplash in either your kitchen or your bathroom, which may peek out just between the countertop and upper cabinets or may run all the way to the ceiling. Another great trend: shiplap that isn’t contained to the walls! Try shiplap on your kitchen island, as the backing in a beautiful hutch cabinet or surrounding your fireplace and mantel. Shiplap may also be used on furniture– picture a shiplapped console table, Murphy bed, or dining room tabletop. The uses for shiplap are truly endless and creativity is encouraged!
Source: Homedit
Go for it!
Now that we’ve covered shiplap’s origin, resurgence, and the myriad options it allows, we hope you’ll give it a try! It will truly add a level of depth and richness to your design you didn’t even know you were missing. Because it is so customizable, it will fit in with any interior design style, from modern to country. Plus it will work well with just about any “look” you are aiming to create. Because of this wonderful versatility, shiplap isn’t going away anytime soon, so panel away!
Related posts
Order Free Color Samples
See how the wood finishes look in your home with free color samples.