Wilding Wallbed’s Wood Finishing Process
Everything Starts with a Purpose
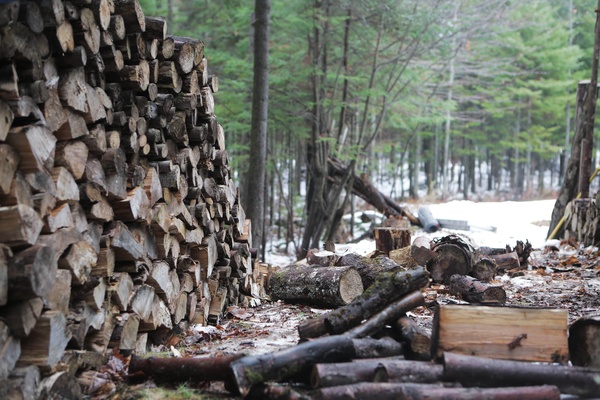
Finishing the construction of that amazing woodworking feat of patience and perseverance is an awesome feeling. Taking that raw lumber from a pile on the ground to a functioning piece of furniture is worth all the investments of time and cost. Whether it’s a floor to ceiling hardwood library, a rustic plaque from a two by four, or one of our Murphy beds. It doesn’t really matter because the thing that makes or breaks most projects is choosing and applying your finish. For this, there is no real easy answer. There is no “one size fits all” choice for this equation and it becomes especially difficult if you don’t know the right questions to ask. I want to highlight some of the questions and components of the finishing process and talk about the specific process we use at Wilding Wallbeds.
Origins of Wood Finishes

To kick this off, I wanted to paint a brief image of our history with finished wood materials. We all know humans are extremely resourceful creatures, and since the dawn of history we see evidence of humans turning one of the earth’s more plentiful resources into craft. With that craft comes appreciation. Our desire to preserve what we appreciate is what spawned the earliest wood finishes. I form this mental image of a man (at some point in the distant past) rubbing the fatty oils of a fresh kill over his spear and seeing a desireable resulting finish. Truth is, no one knows how or when the first finishes were applied to a wood surface. Some modern scholars believe that as far back as 3100 B.C. the Egyptians were using what may be the first varnishes over some of the earliest veneered surfaces. The composition of those first varnishes may be lost to time, but today we carry on that tradition with a whole host of stains and coatings.
So what is the purpose of finishing wood surfaces? To preserve the material? To highlight the natural beauty and details of the grain? Or maybe to cover up some sort of flaw or imperfection in the lumber? All of the above and more? I want to go over some perspectives for finishing your woodworking projects as well as explain how and why our system came to be at Wilding Wallbeds. The key is everything starts with purpose.
The Art of Wood Finishing
Now with centuries of human trial and error under our belt, we endeavor to hone the art of wood finishing. When it comes to finishing our projects, we grapple with a multitude of options; each one, ideally, providing us with a benefit to our project. Otherwise, why bother? Just leave the wood raw and be done with it. So then, which system gives you the most benefits for your project? For this, we need to know and understand how the projects function. What is the purpose of the piece? Where is it going? What will it be exposed to? What tools are available to you? How cost effective is the system and how sustainable will it be? Then there is the questions of decorum, the part most people initially consider when thinking about wood finishes. How do you want your project to look? How difficult and time consuming will it be to achieve your desired look? How will it hold up to time and wear? For us at Wilding, we are and have been very customer minded. We take the concerns of the customer to heart on a reactive level. It has always been the deciding factor in what systems we incorporate. Through that input and the changing advancements of chemical technology, we’ve been able to build a system that checks off as many of our boxes as possible. So whether it’s custom matched pigmented solid colors or traditional hand wiped absorbing stains, we are able to offer the most value to the people we service.
Wilding’s Finishing Process
At this point, I could go down the rabbit hole of all the products that didn’t work out for us or list all the products that could work for you, but that doesn’t seem very productive. So what I’d like to do is explain the system we currently use at Wilding Wallbeds. To keep things simple, I’ll be going over our traditional hand wiped process. It’s the most general and straight-forward process we use. There are some components to our system that we have to address to help explain it better.
We are first and foremost a manufacturing facility, and as such we have to meet specific time schedules and demands. Our customers have to know when they can expect their project and be able to count on timely delivery. That being said, we are also a custom cabinetry shop, so we also have to plan flexibility into the system for the unknowns that might occur when creating something for the first time. At first glance, that might seem to clash. The rigid tach time of a manufacturing company meets handbuilt, detail-oriented, custom cabinet shop, but with the right system they can be quite efficient combined together.
Product Application
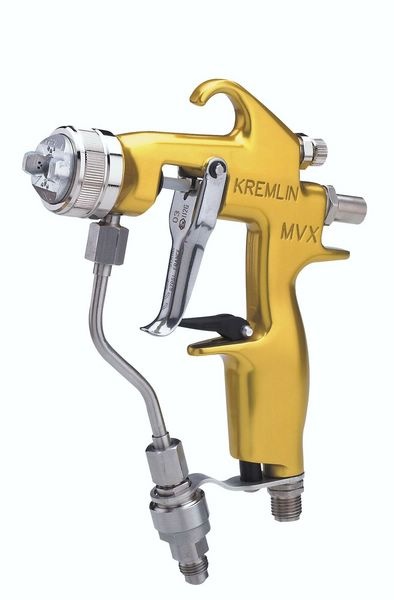
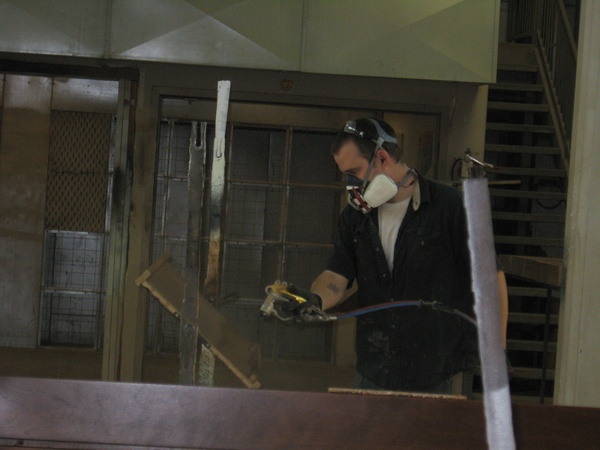
Generally, the first process to finishing a wood surface, after prepping (which consists of: treating, sanding, and racking the wood), is to get your color onto the wood. There are countless options for coloring, but for our purposes we needed a product that wasn’t only easy to work with and rich in tone and depth, we also needed a product that had the ability to structure dry times. To be able to engineer the timing of the following steps we needed to get the flash time of our stain down to the safest working minimums. “Flash time”, is the term we use to explain how long the chemicals are air drying off of the product. With our time concerns instead, we went looking for a coloring process that could fit the versatility of our custom demands. We needed the flexibility to match custom colors as quickly and closely as possible, while being able to replicate standard colors. For this purpose, we landed with the Sherwin Williams Sher-wood colorant line. Now how you apply a product can drastically change the overall look. With this in mind, we also needed a product that could be applied with speed, but still be workable long enough for us to wipe it into a consistent finish. The fastest application is to spray the stain through anyone of several devices (we originally used HVLP gravity fed spray guns). As we added product options, we found the need to upgrade to a more versatile platform in the form of a multi-input Kremlin 10-14 pump. Either output method works essentially the same.
Stain & Sealer Coat

You apply the stain in a workable area and use rags to move the stain around evenly and remove excess. Once the stain is applied to satisfaction and the solvents in the stain have completely flashed out, (about 15 minutes) we are able to move on to the next step. The second general process is to apply the sealer coat. The sealer coat is essentially any coating system that can matte down and seal in our color coating. For this coat, we had the same dry time restrictions as in the staining process, but we also needed the sealer to be a building coat. By “building” I mean that the process of adding layers of coatings to create a smooth complete product is better applied in multiple coatings. Each successive layer should add depth to your overall finish coat and work to protect and strengthen the product. With the sealer, we went with a High-Build Fast-Dry sanding sealer. The sealer component of the product gives us our added moisture barrier, and the high build gives us a great substrate for our top coat to bond to as well as gives us a layer to sand smooth without burning through our color undercoat. Keep in mind that sealer coats can be applied for added build or used over additional glazing color coats. Once the sealer has flashed off completely, we are able to use extra fine sanding sponges to sand down the surface to a smooth topcoat prepped consistency.
Top Coat
The next process, and generally the final step, is the topcoat. The topcoat is by far the most critical part of the finishing process. So both the product and the skill of the application need to be on point. For this, we opted for a high build pre-catalyzed lacquer. The strength of the pre-cat lacquer, for our system, becomes obvious at multiple stages. It has an excellent dry time and when applied to spec, offers a great finish and works extremely well with most stains, glazes, filler, toners and colorants. With our time constraints, the shelf-life becomes a non-issue and the flow out and build are hard to beat. It also has an added benefit of being easily repairable with available touch up product. The end result is a beautifully finished project with as little pitfalls in the process as possible.
A Purposeful Objective
Taking out the stumbling blocks by starting with a purposeful objective, not only benefits us as the finisher, but also our bottom line to our customer. This process allows us to deliver a beautifully finished Wall Bed at a great value. Keeping us competitive and our customers happy. Hopefully this was beneficial to anyone interested in our process at Wilding Wallbeds or just the art of woodworking in general. I look forward to any feedback that might come from this and all the future conversations.
 Written by
Tyson Jones
Team Leader
Finishing Department
Related posts
Order Free Color Samples
See how the wood finishes look in your home with free color samples.